Using the FTP Site Wizard to Create an FTP site
In this first
section we will create a new FTP site that can be opened for Read-only
access by anonymous users and Read/Write access by the administrator
account.
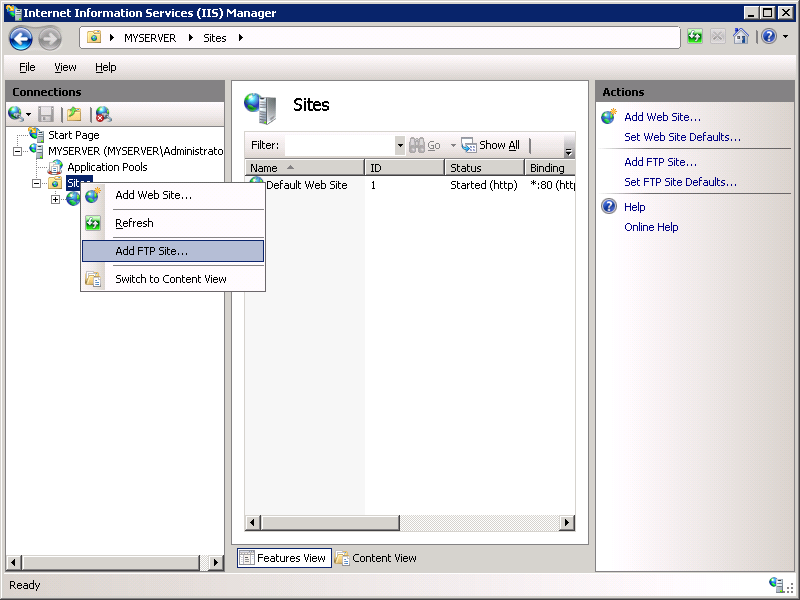
- In IIS Manager, in the Connections pane, click the Sites node in the tree.
- As shown in the image below, right-click the Sites node in the tree and click Add FTP Site, or click Add FTP Site in the Actions pane.

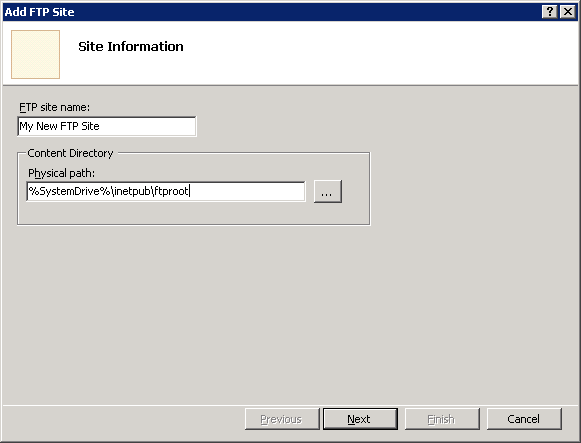
- When the Add FTP Site wizard appears:
- Enter "My New FTP Site" in the FTP site name box,
then navigate to the "%SystemDrive%\inetpub\ftproot" folder that you
created in the Prerequisites section. Note that if you choose to type in
the path to your content folder, you can use environment variables in
your paths.
- When you have completed these items, click Next.

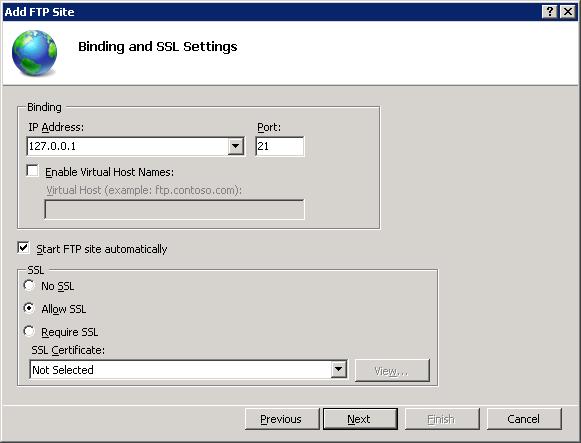
- On the next page of the wizard:
- You would normally choose an IP address for your FTP site from the IP Address
drop-down, or you could choose to accept the default selection of "All
Unassigned." Because you will be using the administrator account later
in this walk-through, you want to make sure that you restrict access to
the server and enter the local loopback IP address for your computer by
typing "127.0.0.1" in the IP Address box.
- You would normally enter the TCP/IP port for the FTP site in the Port box. For this walk-through, you will choose to accept the default port of 21.
- For this walk- through, you will not use a host name, so make sure that the Virtual Host box is blank.
- Make sure that the Certificates drop-down is set to "Not Selected" and that the Allow SSL option is selected.
- When you have completed these items, click Next.

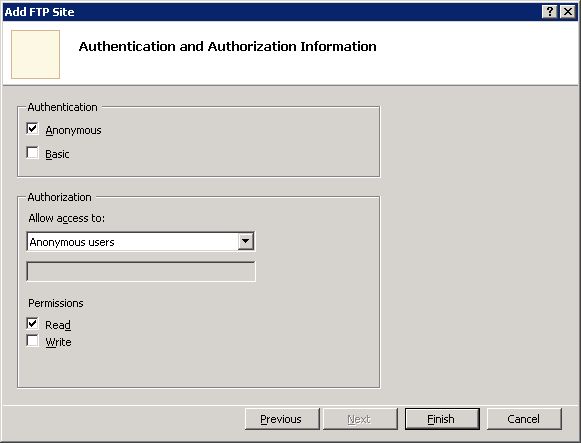
- On the next page of the wizard:
- Select Anonymous for the Authentication settings.
- For the Authorization settings, choose "Anonymous users" from the Allow access to drop-down, and select Read for the Permissions option.
- When you have completed these items, click Finish.

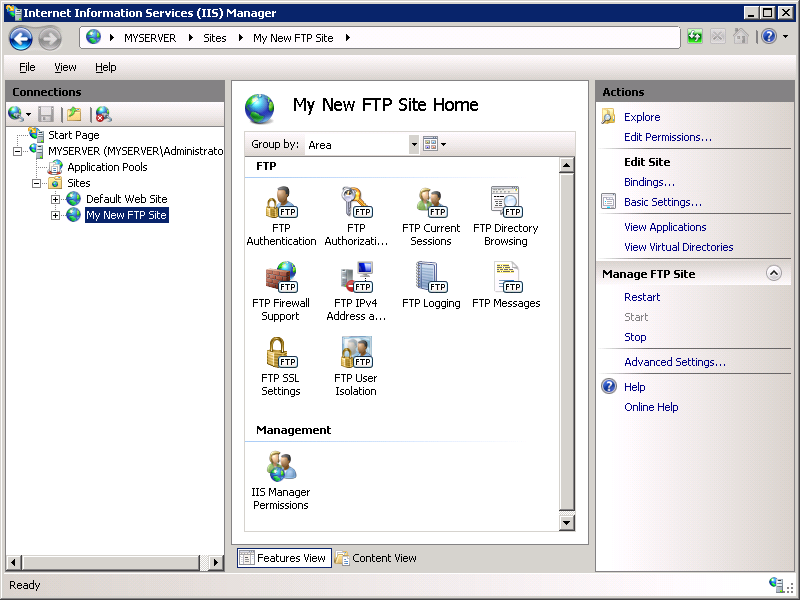
- In IIS Manager, click the node for the FTP site that you created; this will display the icons for all of the FTP features.

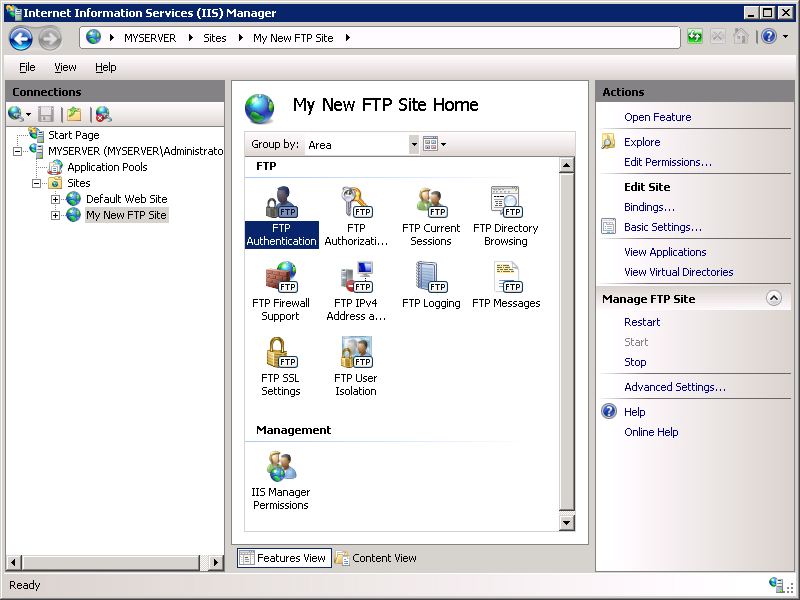
- We need to add Basic Authentication so that users can log in. To do so, double-click the FTP Authentication icon to open the FTP authentication feature page.

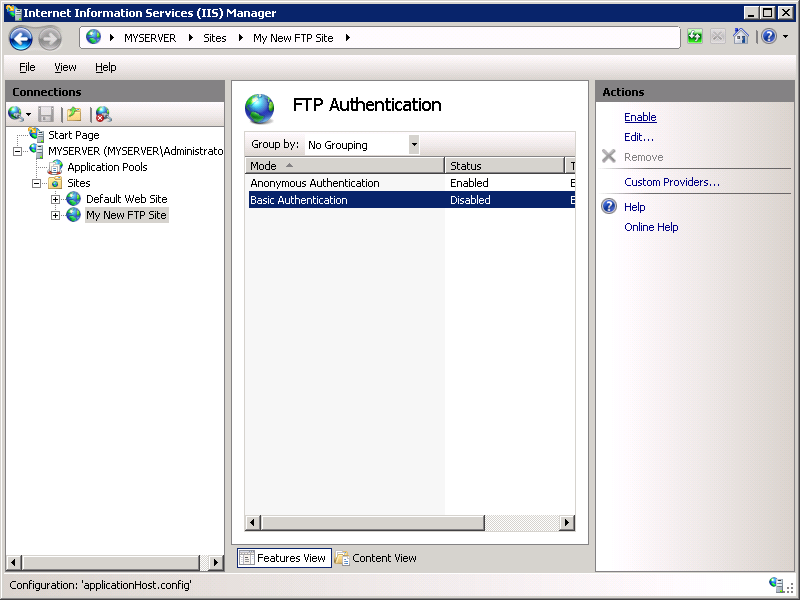
- When the FTP Authentication page is displayed, highlight Basic Authentication and then click Enable in the Actions pane.

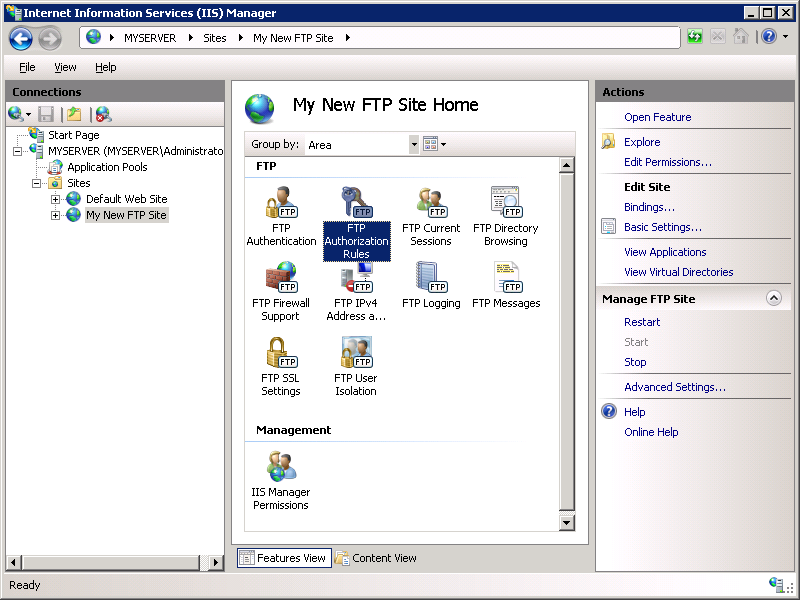
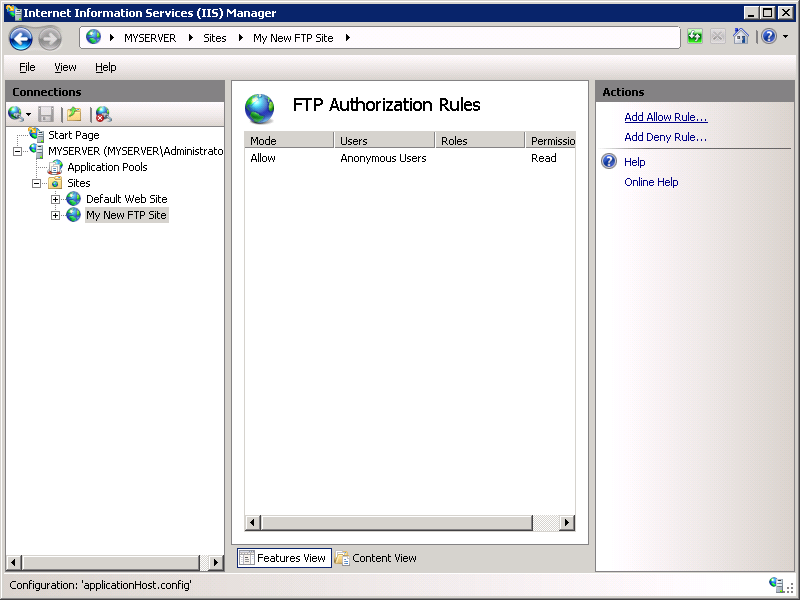
- In IIS Manager, click the node for the FTP site to re-display the icons for all of the FTP features.
- We need to add an authorization rule so that the administrator can log in. To do so, double-click the FTP Authorization Rules icon to open the FTP authorization rules feature page.

- When the FTP Authorization Rules page is displayed, click Add Allow Rule in the Actions pane.

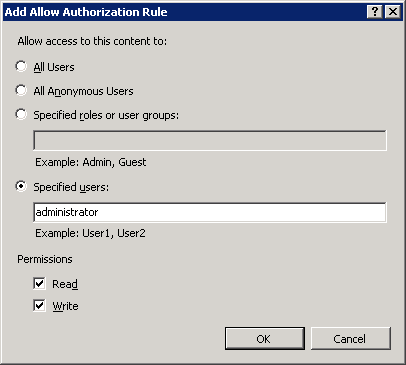
- When the Add Allow Authorization Rule dialog box is displayed
- Select Specified users, then type "administrator" in the box.
- For Permissions, select both Read and Write.
- When you have completed these items, click OK.

No comments:
Post a Comment